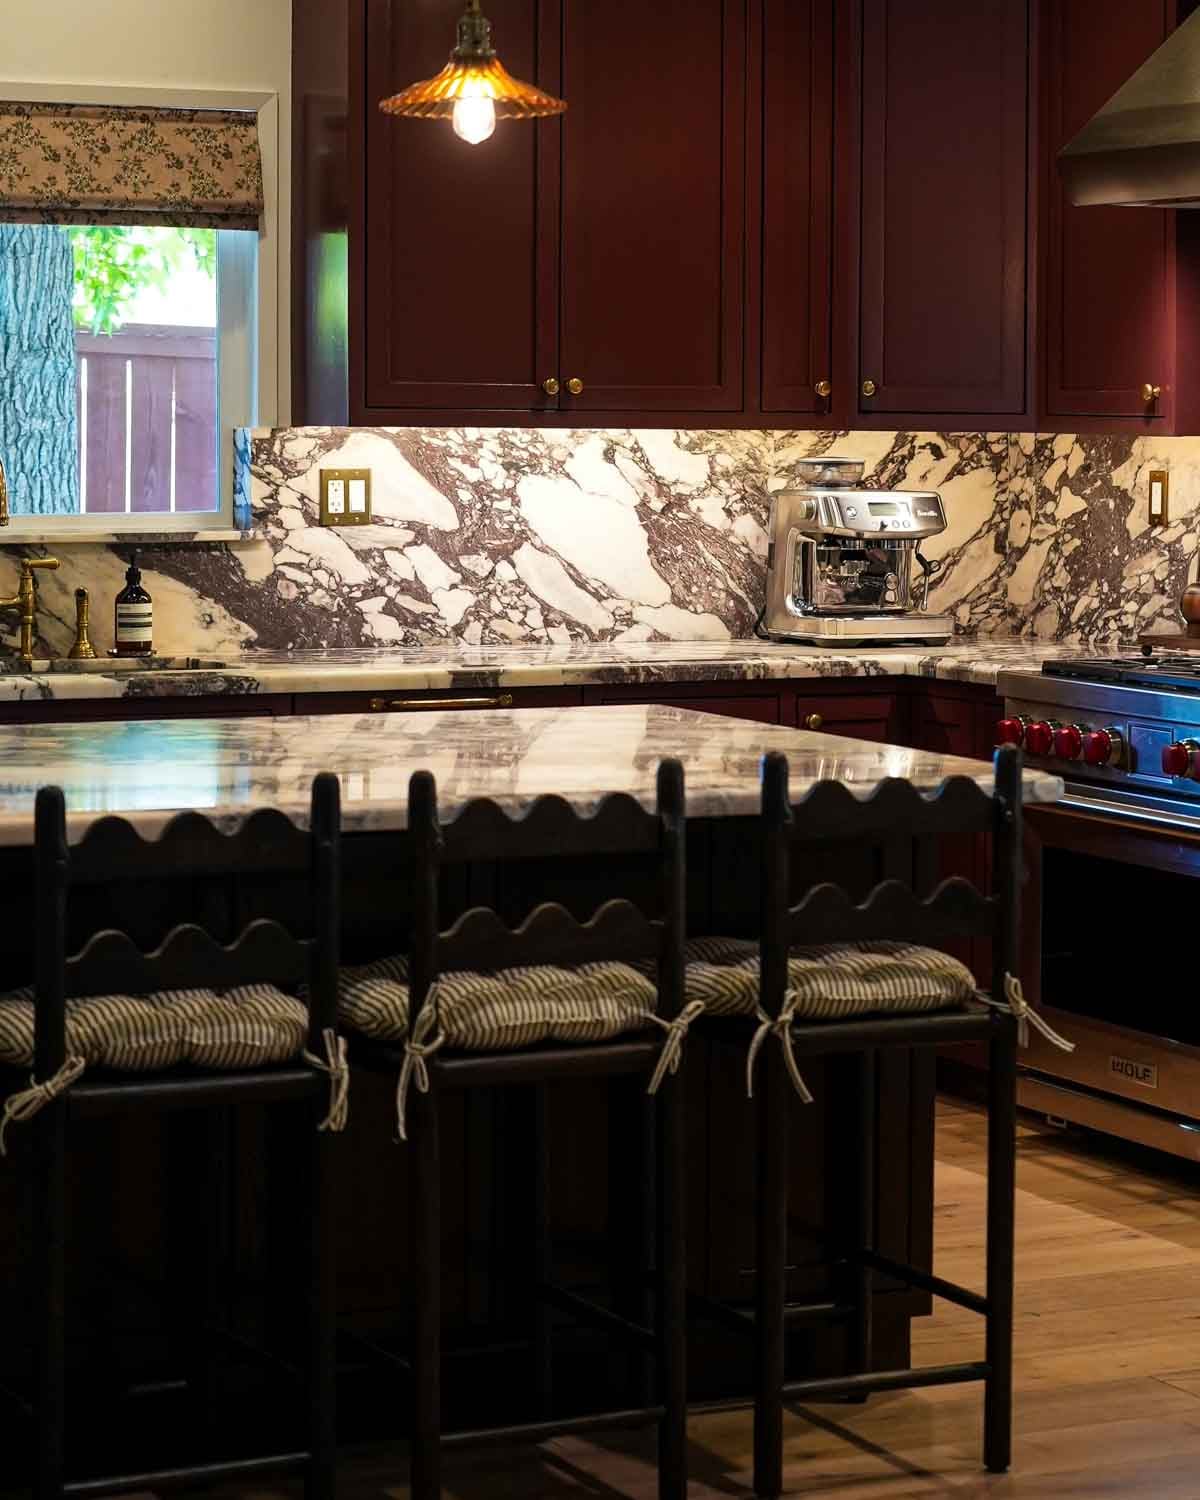
Inside My Los Angeles Kitchen Renovation

on Oct 20, 2026
This post may contain affiliate links! For more info, check out our privacy policy.
Welcome to my complete Los Angeles Kitchen Renovation! If you’ve been following along on my Instagram, you know that over the past few months (12 weeks to be exact), I have been without a kitchen and was currently deep in renovating.
This post will go over all the items, down to the brands, links, and picks of everything we picked for the kitchen. I had a clear vision for the kitchen, knowing exactly what I wanted for (most) items, so I hope this helps! Let’s begin!
Backsplash and Countertops
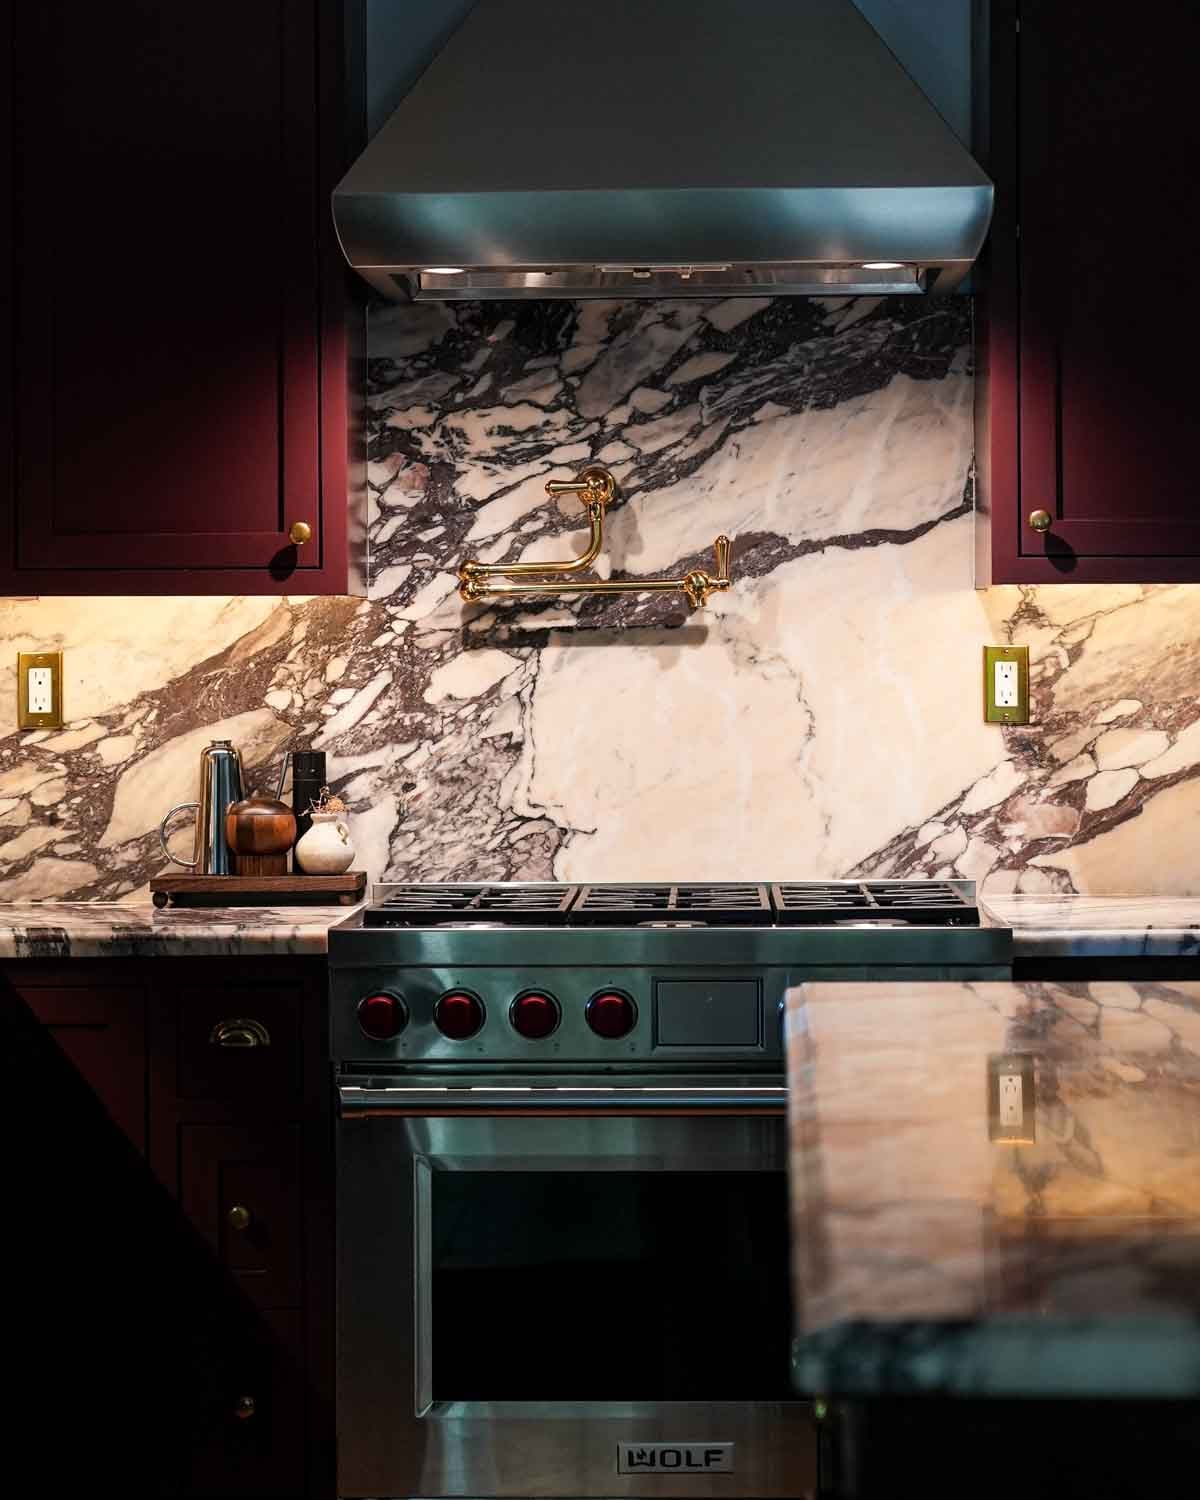
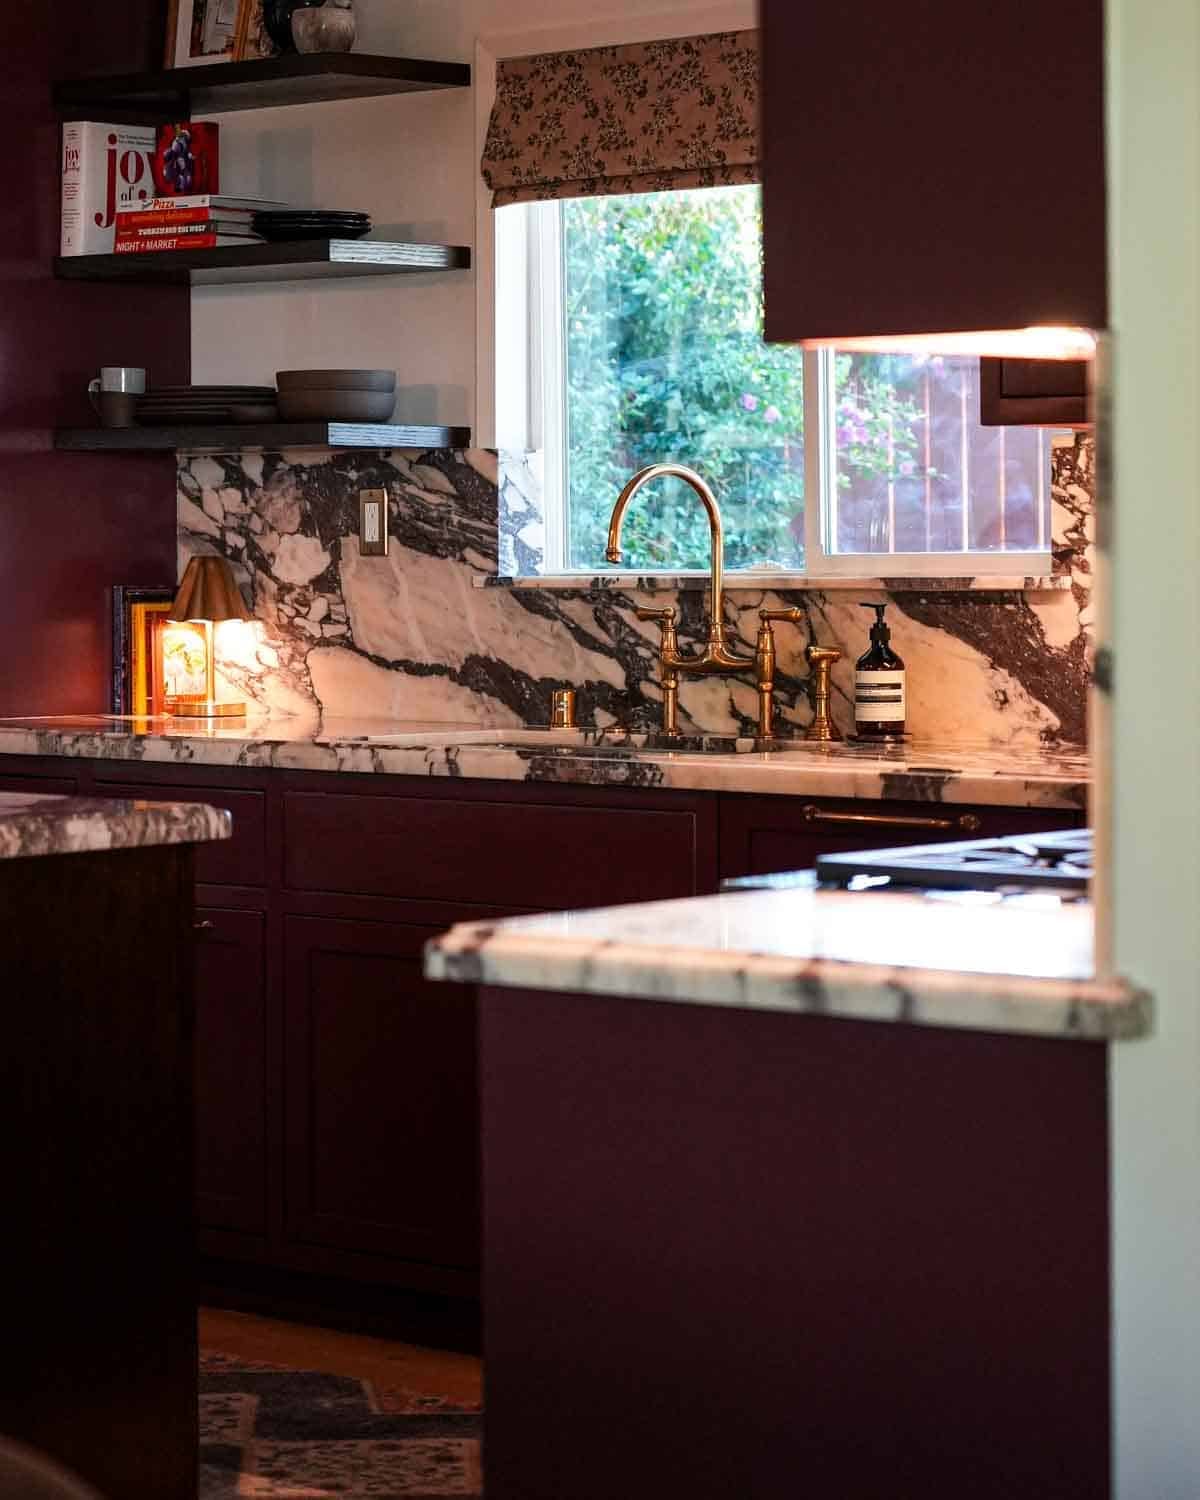
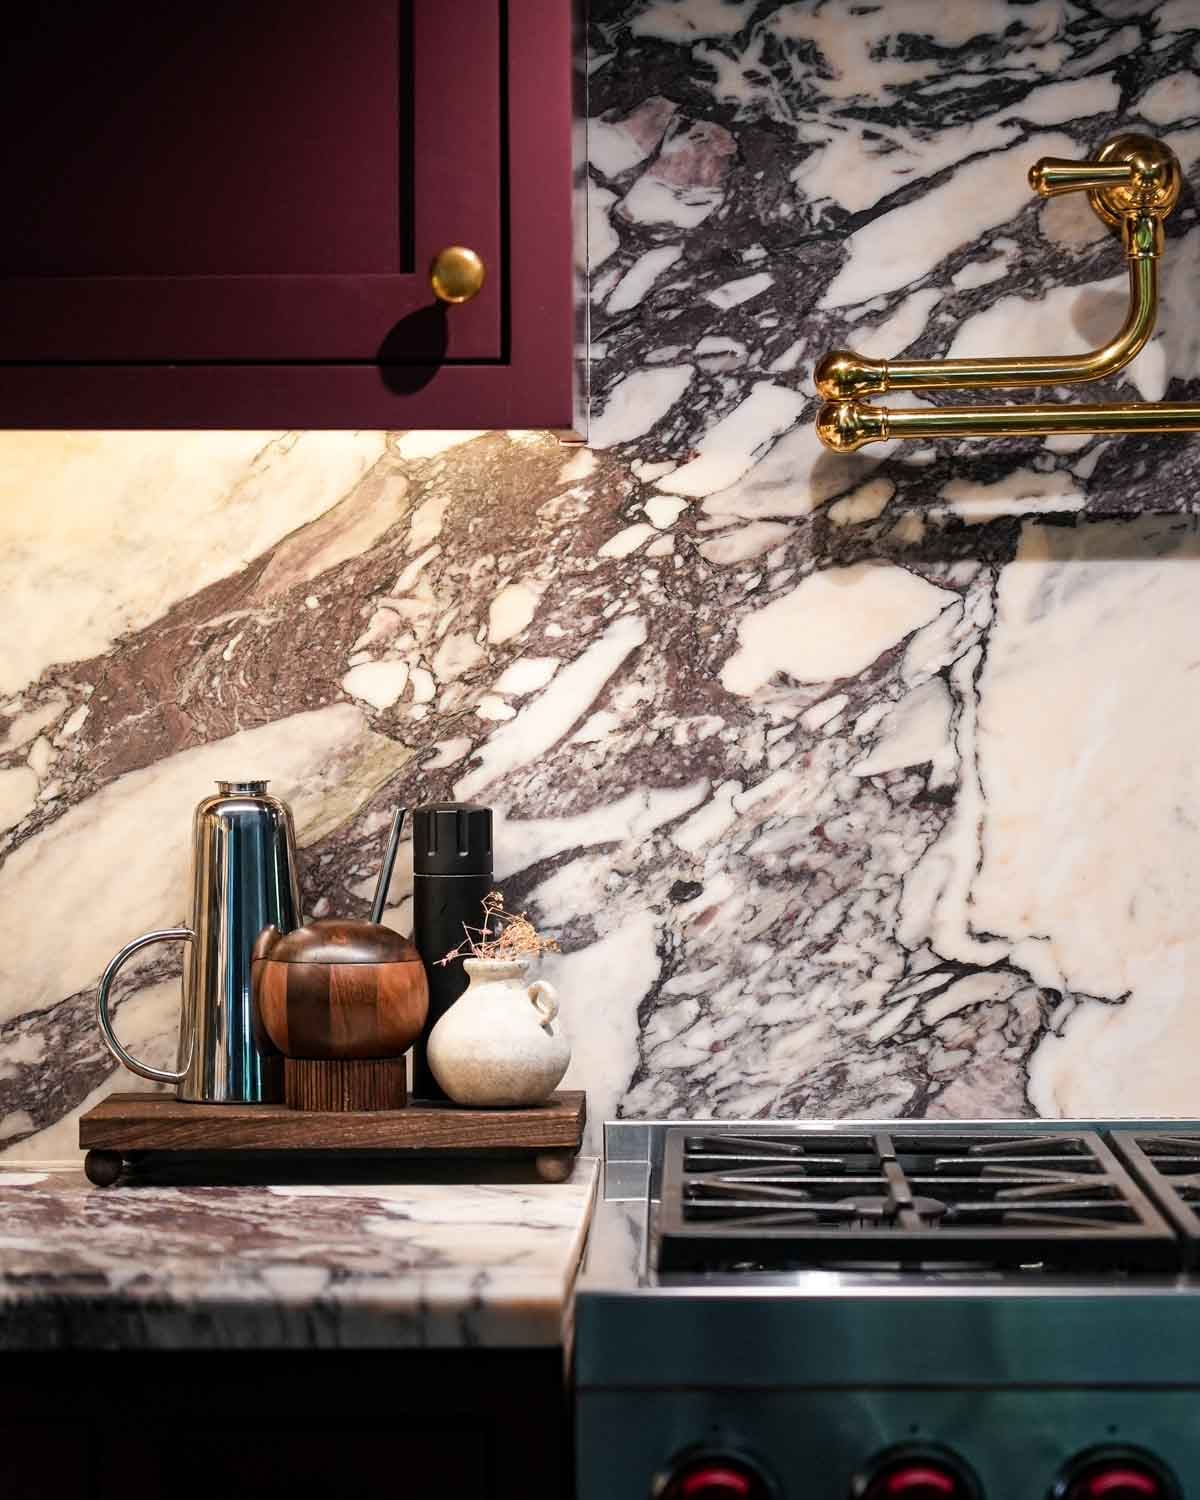
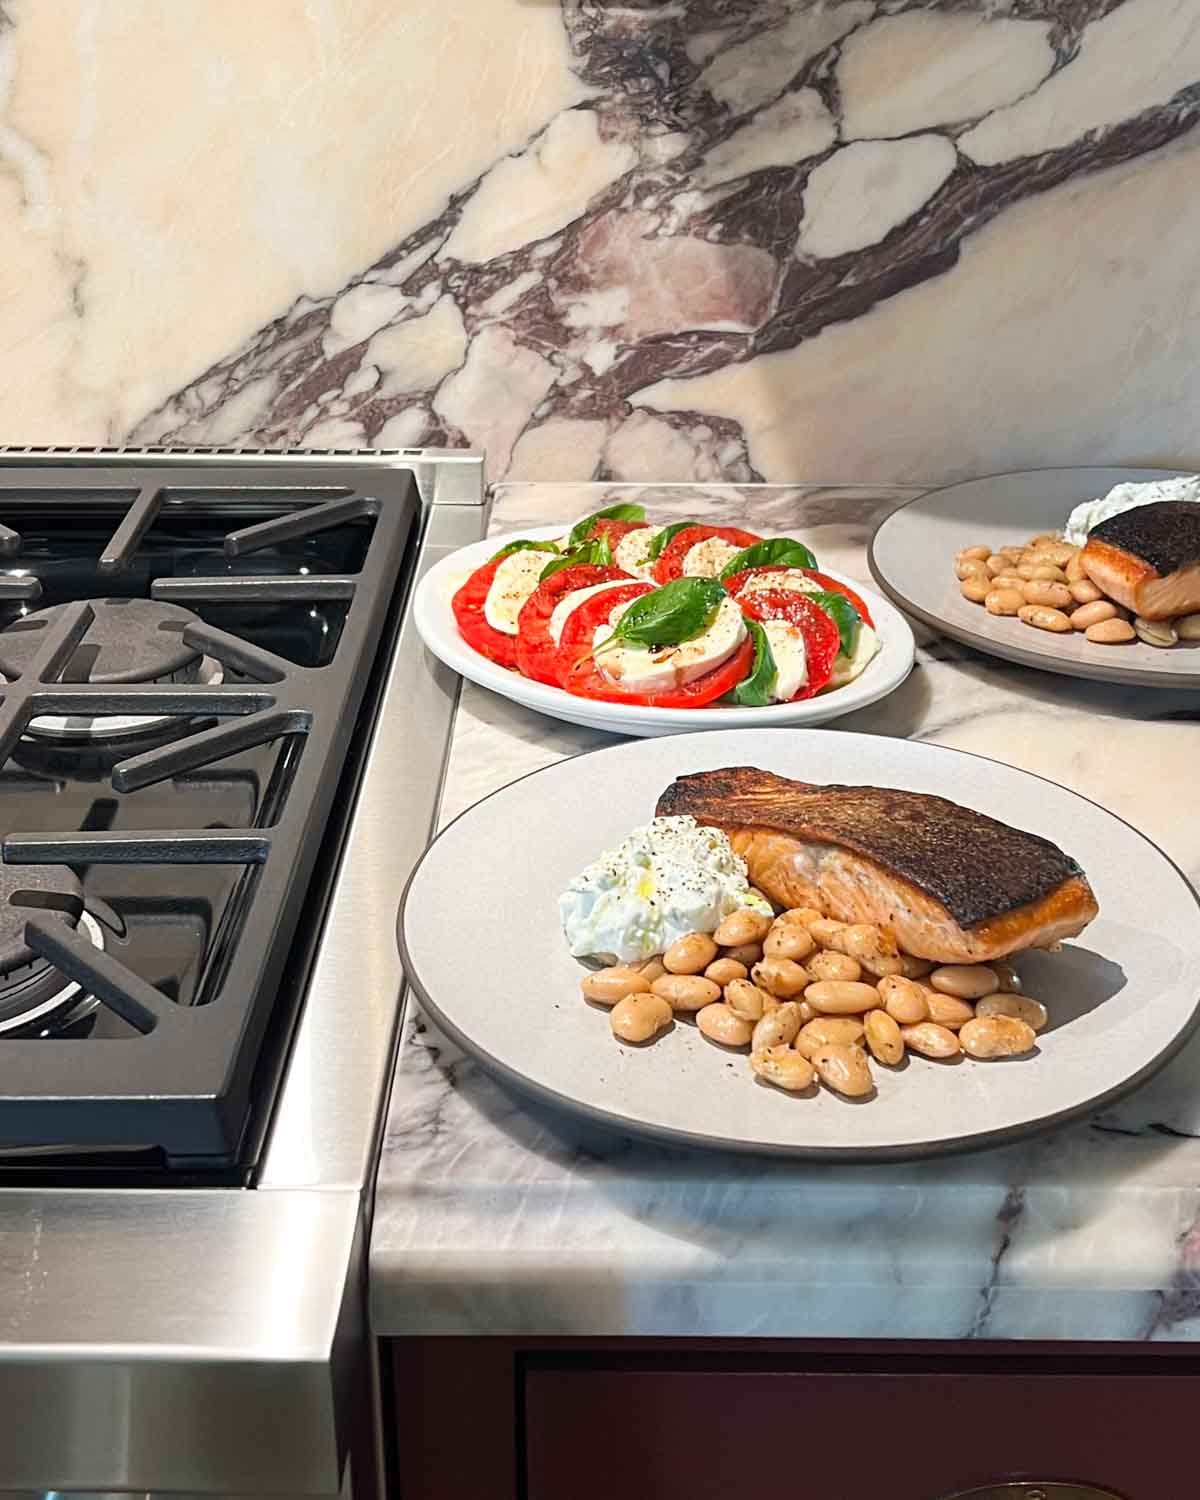
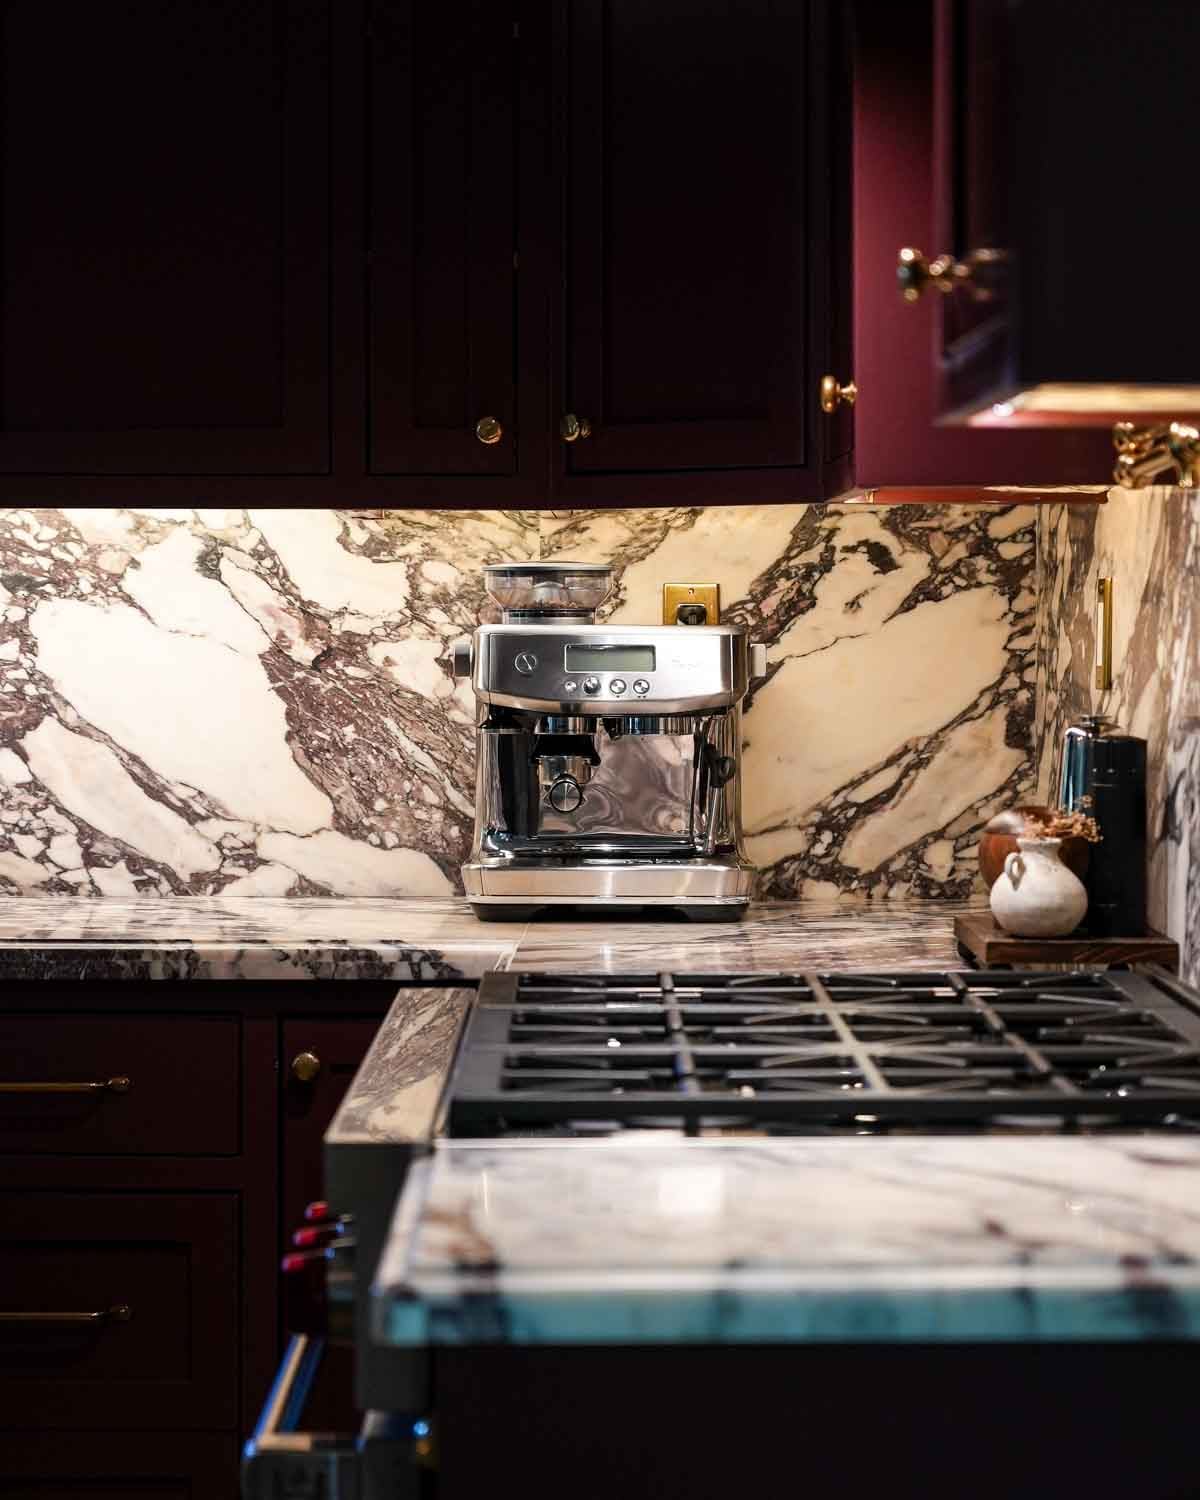
Marble: We went with Arabescato Viola marble for both the countertops and the backsplash. It has so much amazing burgundy, white, and gray veining throughout, and the marble has different textures and patterns.
Backsplash: At the start of this process, I was toying with tile for the backsplash, but once I saw all of these gorgeous marbles at the slab yard, I felt it would look even more timeless going full marble (and to also make me decide 1 less thing, haha)
Where We Got Our Marble: If you’re in the Los Angeles area, we got our marble from Marble & USA on Sawtelle. They were lovely enough to hold the marble, too, until we were ready. And for reference, we got 3 slabs for a full island, countertop, and backsplash. I do have some extra marble leftovers from the stencils that I plan to eventually use for a future project.
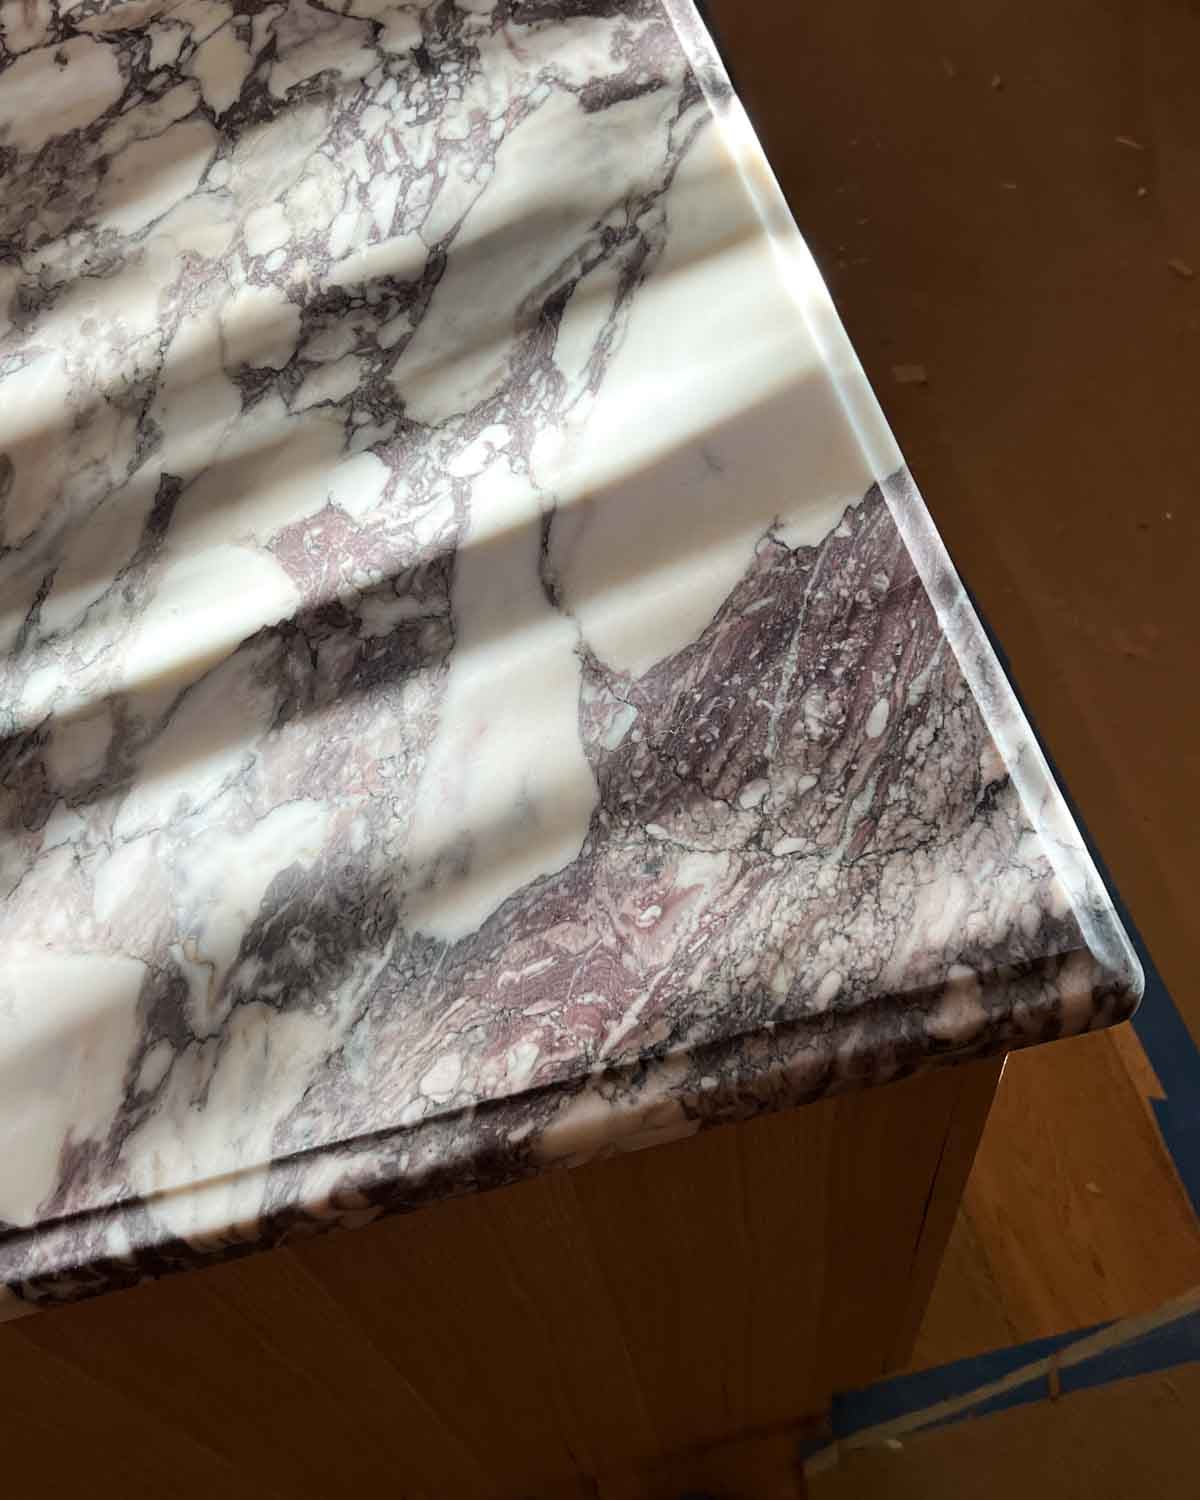
Picking marble locations: When it was ready to be installed, I went to the fabricator’s factory to pick the exact locations of which marble I want where, so I can really have a clear vision of where it will all be placed since this marble has a lot of different colors and textures.
Ogee Edge: After choosing what pieces to install where, I also decided to do an ogee edge. There was something about the softness and classic, old-school look to it that I really loved.
Marble Style Add-Ons:
- We did one larger rounded corner on the left side of the island. It gives the kitchen so much character, and I LOVE it.
- We also did a small marble shelf above the sink and window, which was a recommendation the fabricator presented.
Safeboard: As far as the marble goes, I wanted to ensure it’s as sturdy as possible, so we did install a safeboard aluminum piece under the large island for the overhang. I believe our overhang is 12 inches, and the safeboard was installed on the whole island before installing the marble.
Kitchen Appliances
Range: On day one (and for years), I knew I wanted a Wolf range in my kitchen. I got the 36-Inch Dual Fuel Range with 6 burners. I personally had past stoves with the griddle in the middle, and I never used it, and so far, the 6 burners have been the move for me.
Hood and Dishwasher: Paired the range with their Chimney Hood, as well as the Cove Dishwasher, panel-ready! The cabinet maker created a panel the same color as the cabinets, so it all looks seamless and part of the rest of the cabinets.
Duct Cover: Don’t forget, for your hood, you will need a Duct Cover! (Size would depend on where you are placing the hood; we did a 12-inch duct cover, and the cabinet maker helped shave down what was needed to install).
Cabinets for the Kitchen
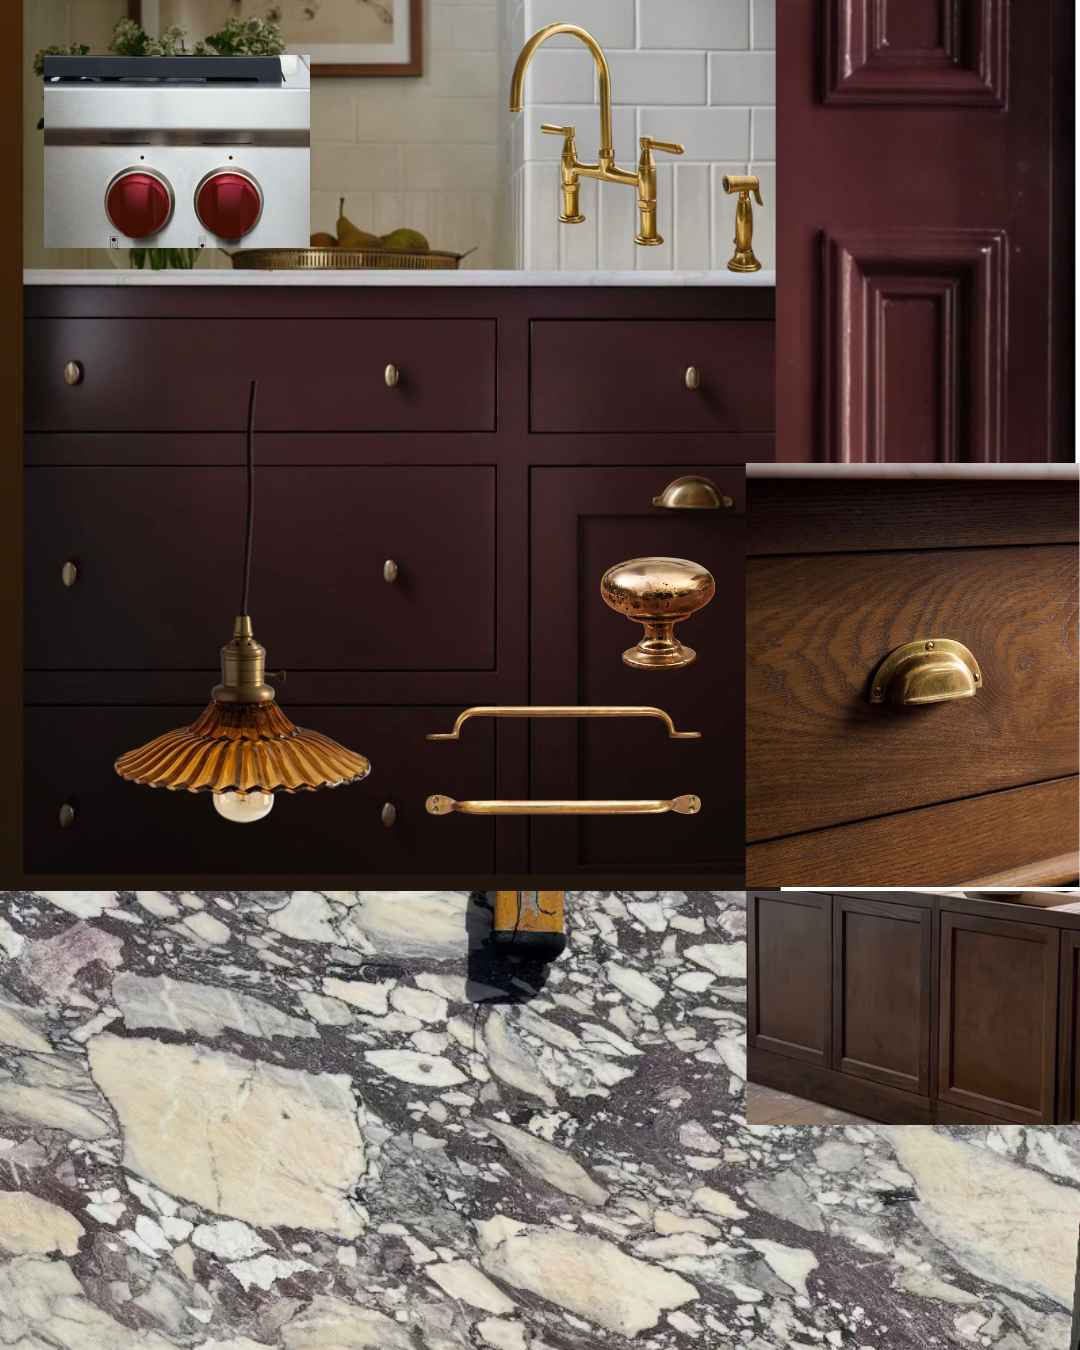
Paint Colors: We did a mix of different styles of custom inset cabinets and colors. For the cabinets on the wall, we did a wood finish painted with Preference Red from Farrow and Ball, and for the island we did stained white oak cabinets in a deep and dark walnut finish.
Even though the color has red in the title, it is a deep burgundy! The hue and color will vary depending on your wood and walls, as well as the light in your space, so I tested a bunch with the wood in the kitchen we were using to find the exact shade I wanted.
I really love the way the two different tones look together, and I feel it looks super cohesive and also interesting having two different colors. The cabinets and the color shades were all custom, so I do not have a link.
Under-cabinet lighting: We also installed custom lighting all throughout the bottom of the cabinets and went with a warmer tone.
Kitchen Sink, Faucet & Pot Filler
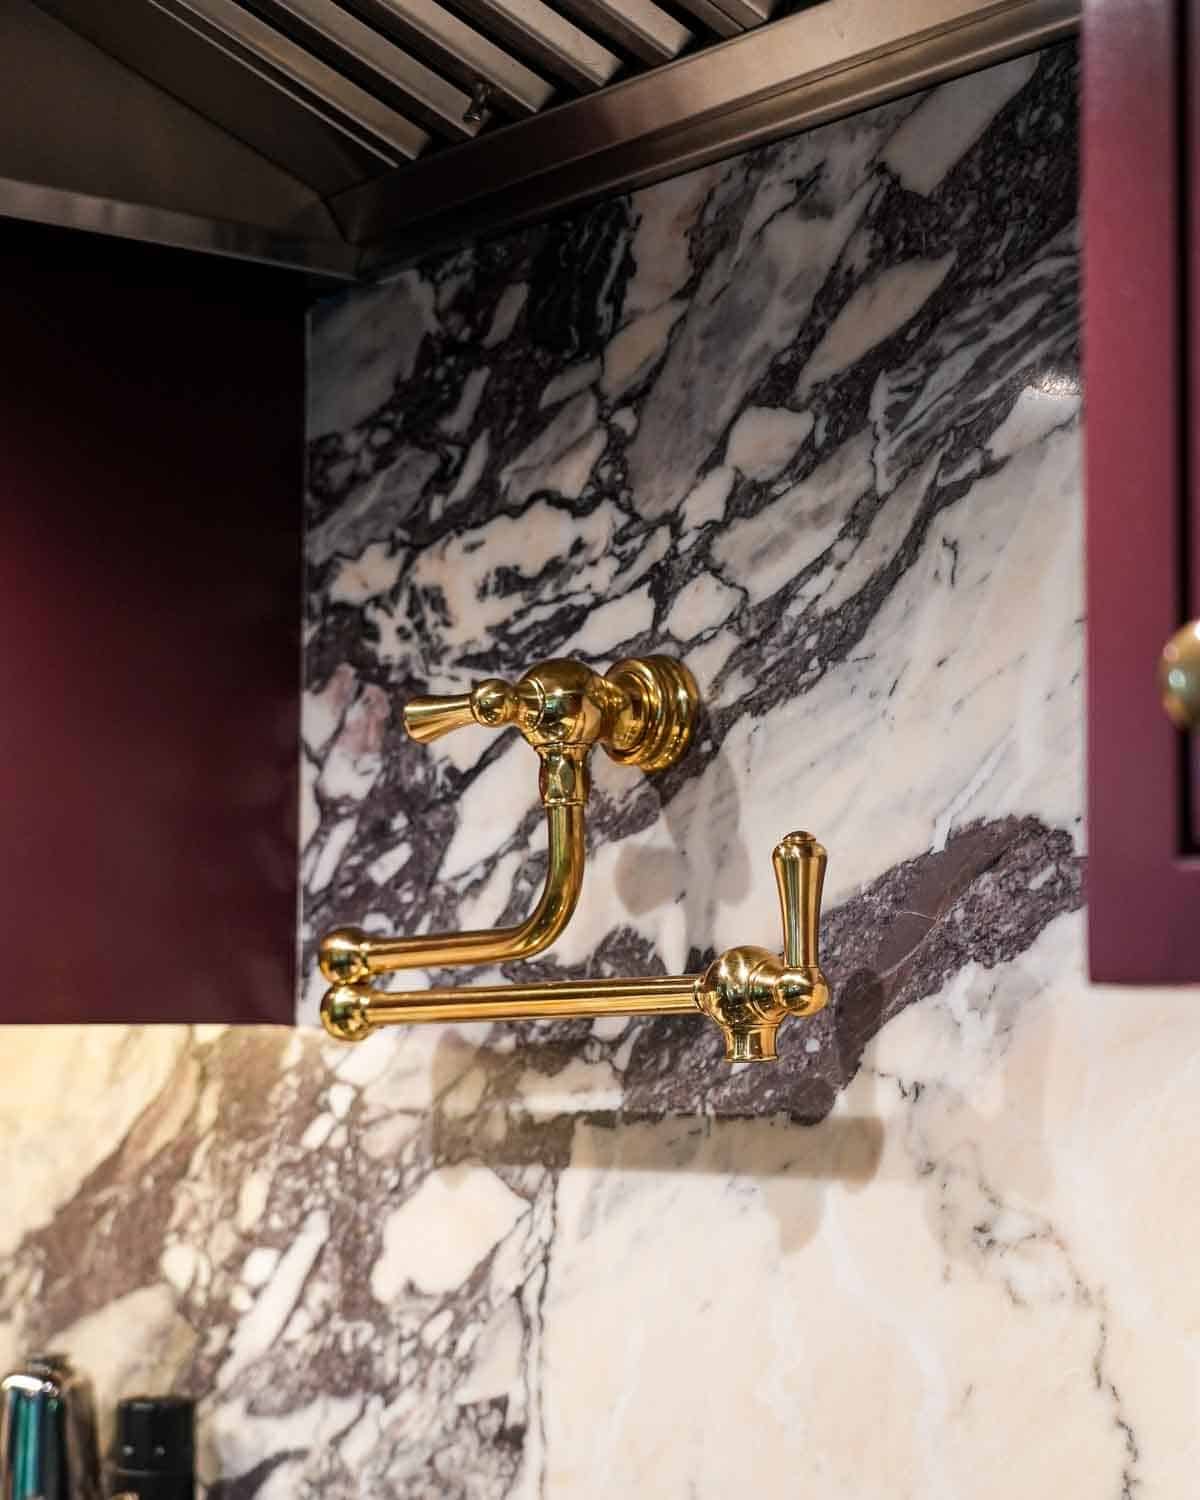
Building on this sort of European theme for the kitchen, I went with all unlacquered brass for the hardware, pot filler, and faucet.
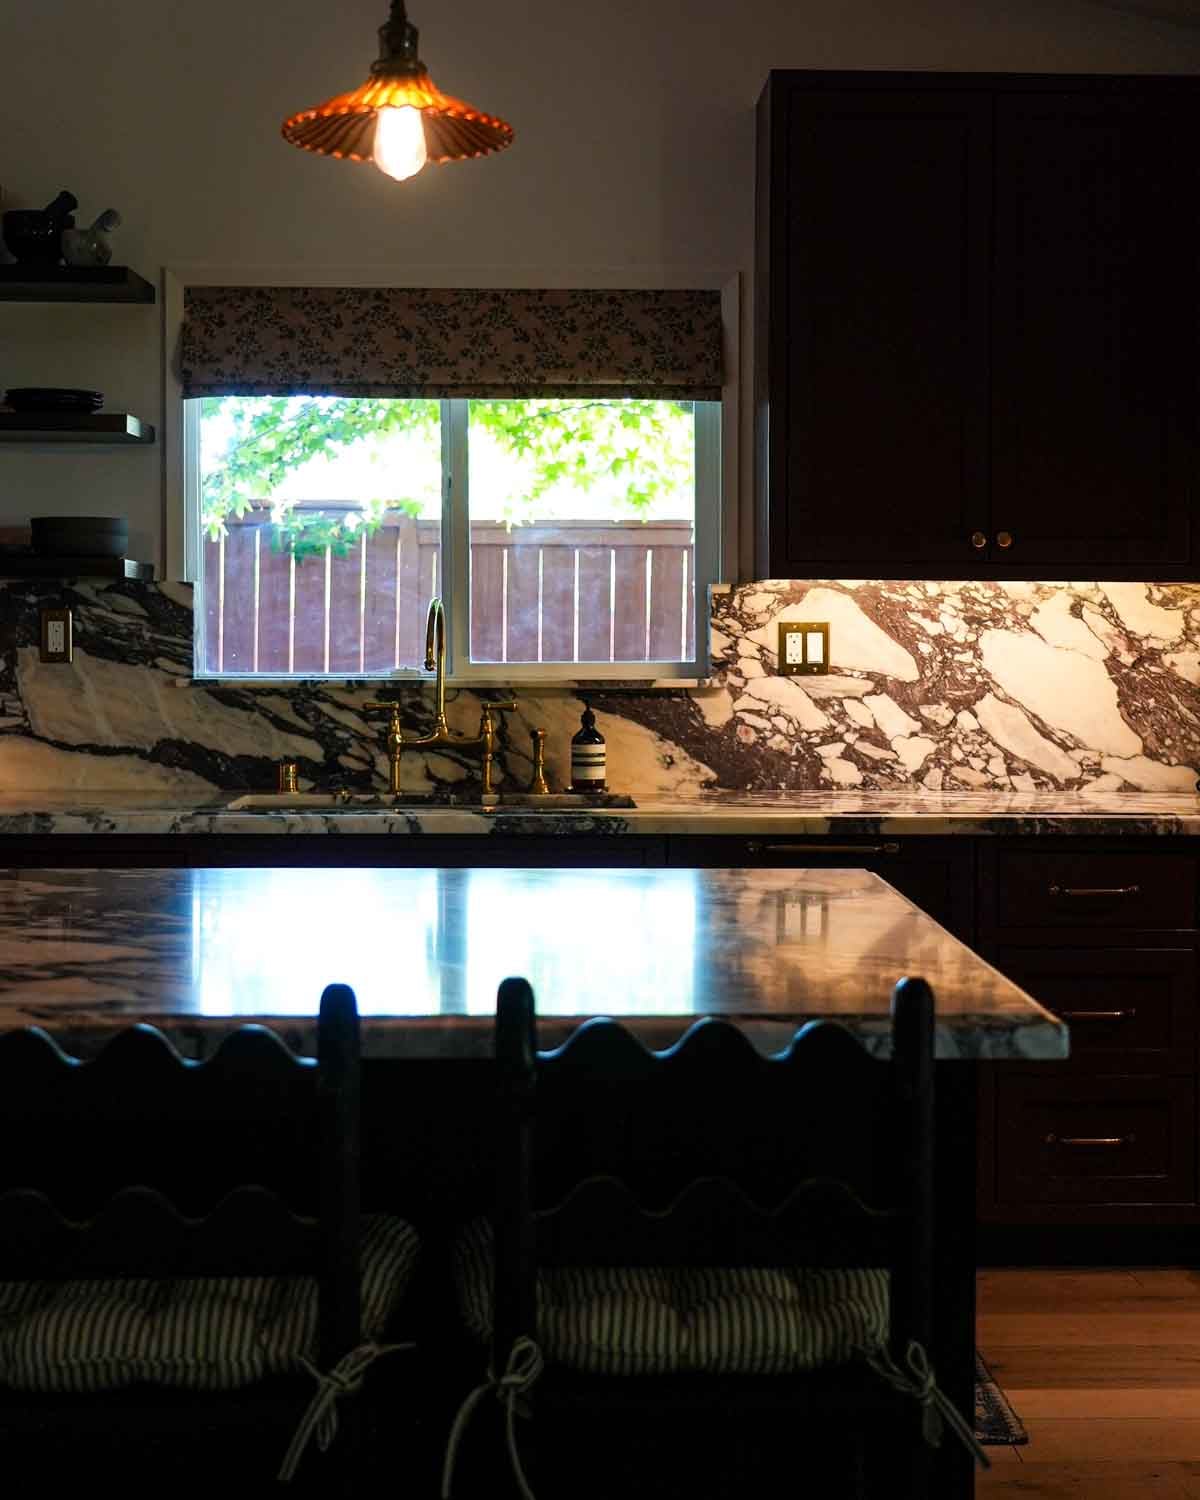
Faucet and Sprayer: I got this gorgeous Georgian Era Widespread Bridge Kitchen Faucet, including the sprayer on the side. With this, I also got an Air Gap for the dishwasher overflow and their Water Disposal Control Box.
Pot Filler: I knew I wanted to add a pot filler when going over the design for the kitchen. I went with the same brand for the Pot Filler for consistency.
Sink: The sink I got is the Strive Kohler 35-inch Undermount Single Bowl Kitchen Sink. I’ve always had a divider in past sinks, and I opted without one this time, and I’m telling you, it’s been an absolute game changer. You can fit bigger pots and pans, and in my opinion, it looks sleeker too.
I went with an undermount sink because I knew I wanted the marble to wrap around the top versus a farmhouse sink style.
Kitchen Hardware
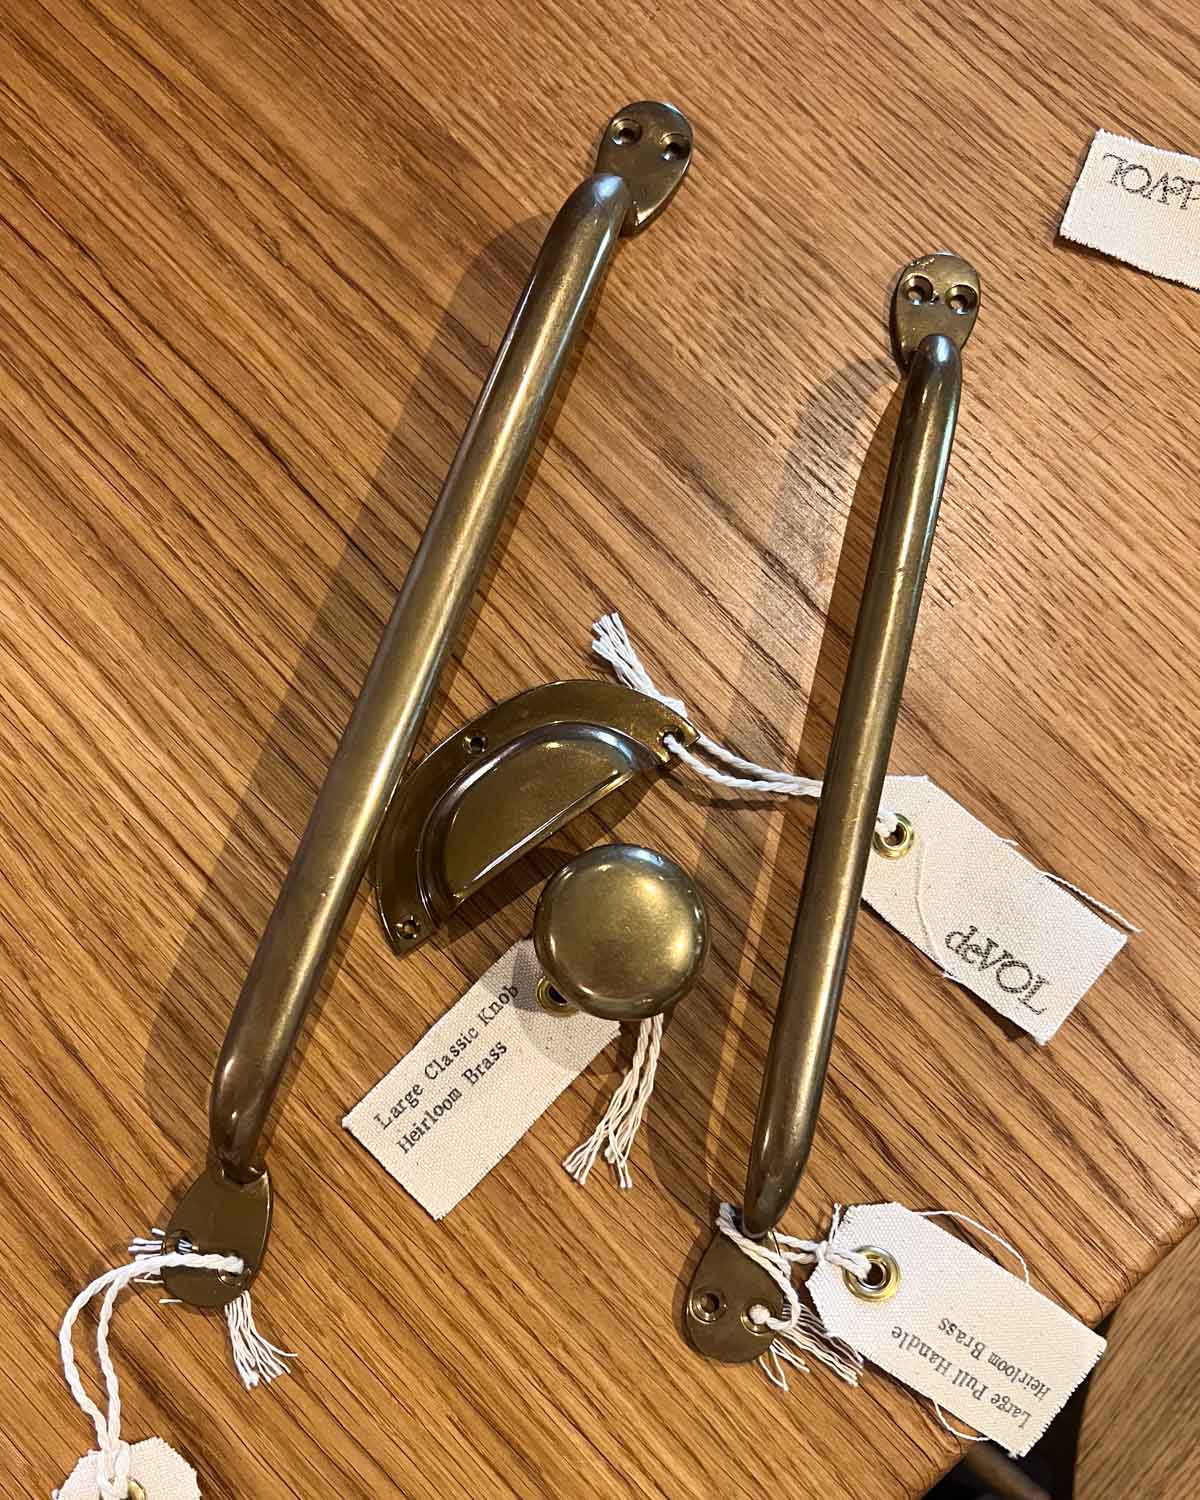
Cabinet Pulls, Knobs and Dishwasher Pulls: I kept all the kitchen hardware consistent with the sink and pot filler and stayed with an unlacquered brass finish.
The cabinet pulls, knobs, and bin pulls are all from Devol. I went to their showroom on Melrose before deciding, and the quality was unmatched by anything else I was looking at. It was an easy decision.
For the hardware, I did a mix of bin pulls, knobs, and cabinet pulls, and used a larger pull for the dishwasher panel.
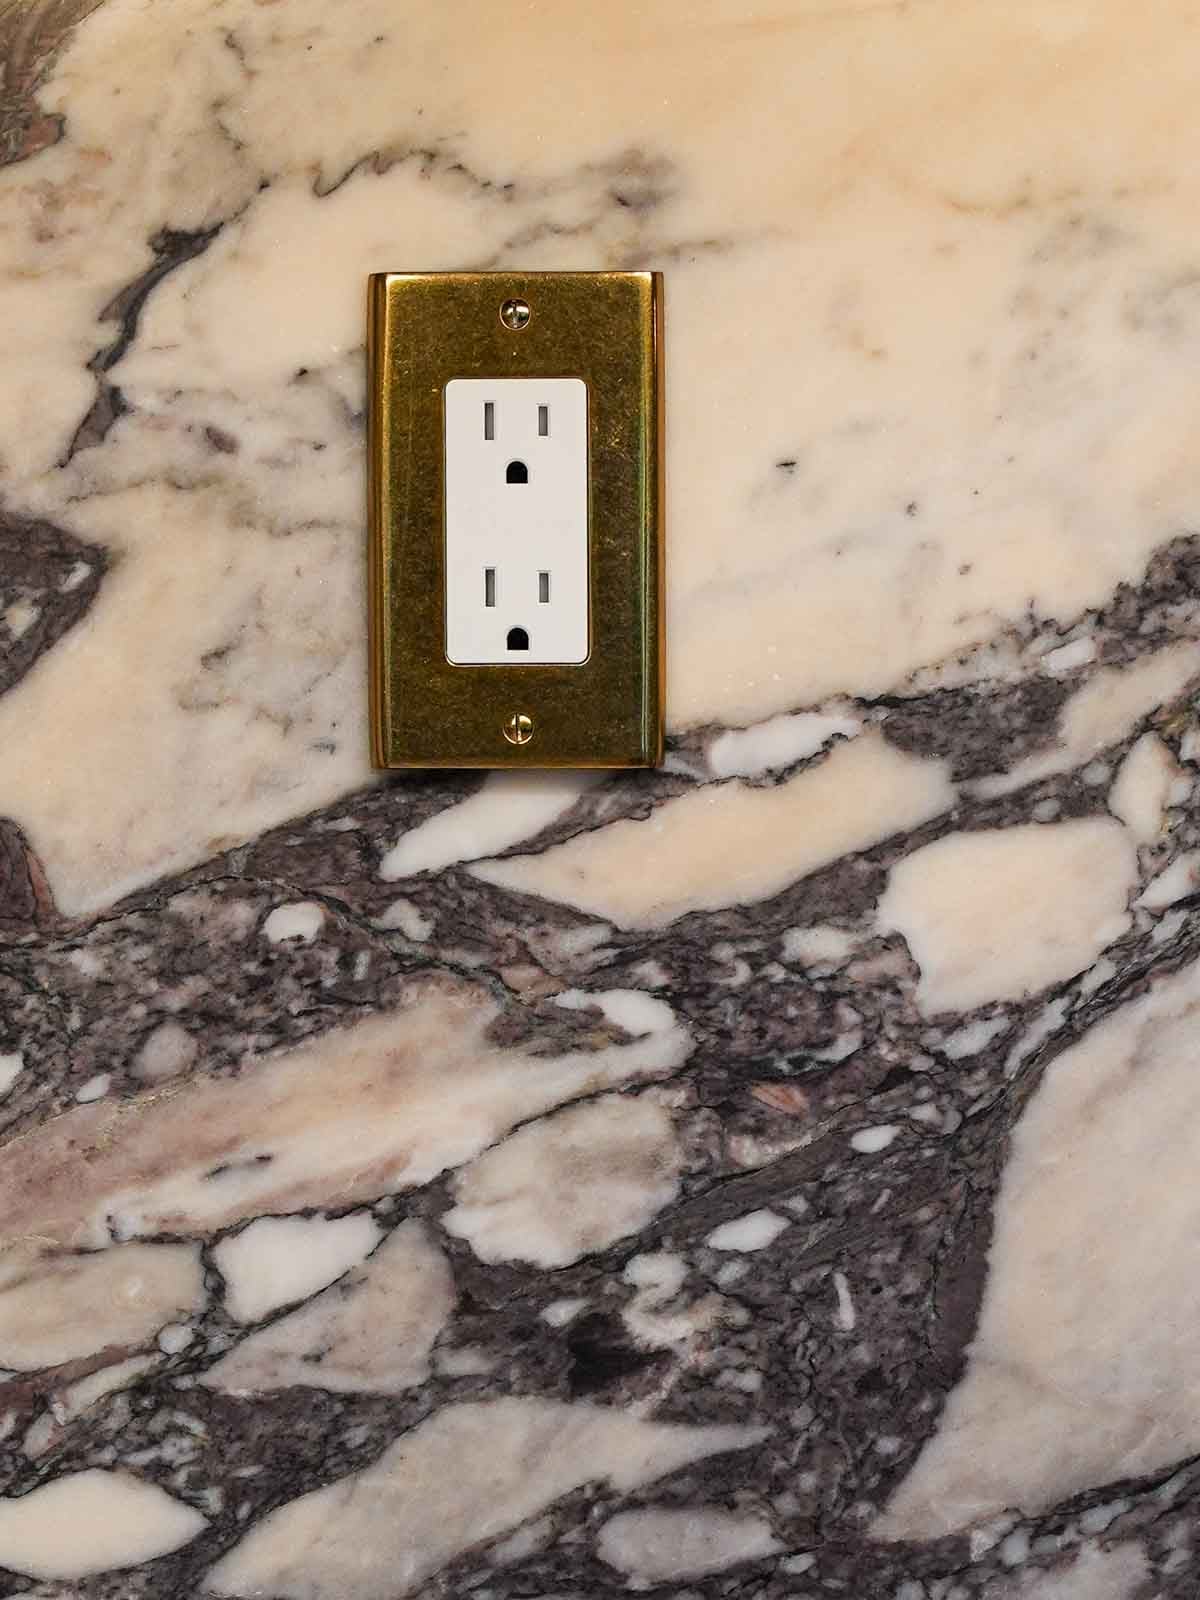
Outlet Sockets: We were toying with the idea of potentially putting the outlets underneath the cabinets, but decided against it and just decided to get some really nice brass outlets instead. I found these Samsome Single Duplex cover plates from Pottery Barn, and they look absolutely stunning against the marble backsplash!
Other Kitchen Accessories & Details
Pendant Lighting: I wanted a brassy, dainty pendant light, with nothing too flashy or big. I found these gorgeous Recycled Glass Pendants from Green Row, and they look even better installed in person.
Bar Stools: These bar stools are handmade in India from Etsy; they are the Tarang Counter Chairs with Reclaimed Wood, and I just really loved the visual appeal of the back curve of the chair.
Bar Stool Cushions: I wanted to start adding some textures and colors throughout the kitchen, and adding these Striped Chair Cushions on the bar stools was the perfect pairing.
Mini Stool: This Reclaimed Wood Decorative Pedestal is also from Green Row. I wanted a small stool to use for higher cabinets that matched the rest of the cabinetry.
Roman Shades: For the Roman shades, we first removed the old shades and installed a simple white wood panel around the window. Then, I purchased these custom Sara Le Printed Roman Shades from Two Pages Curtains. It was an easy process and an easy install, too! I knew I wanted floral shades, and being able to customize to my space was perfect. I also ordered some samples before, so I was able to see all their shade swatches before!
Shade specs are below:
- Inside mount
- Cordless
- Room Darkening, Shading Rate 90%, 220 gsm triple
- Vintage Linen SL-J1
Sabre Utensils: I knew I wanted to invest in some quality flatware, which I never had before. I bought an assortment of colors to mix and match!
Flatware In-Drawer Organizers: These walnut in-drawer organizers fit perfectly in the cabinets for flatware and accessories. I personally like when organizers don’t have the expandable look, so this was the perfect fit, especially fitting with the walnut theme.
Looking for all my kitchen renovation items in one place, check out our kitchen renovation shop, with everything in one place here.
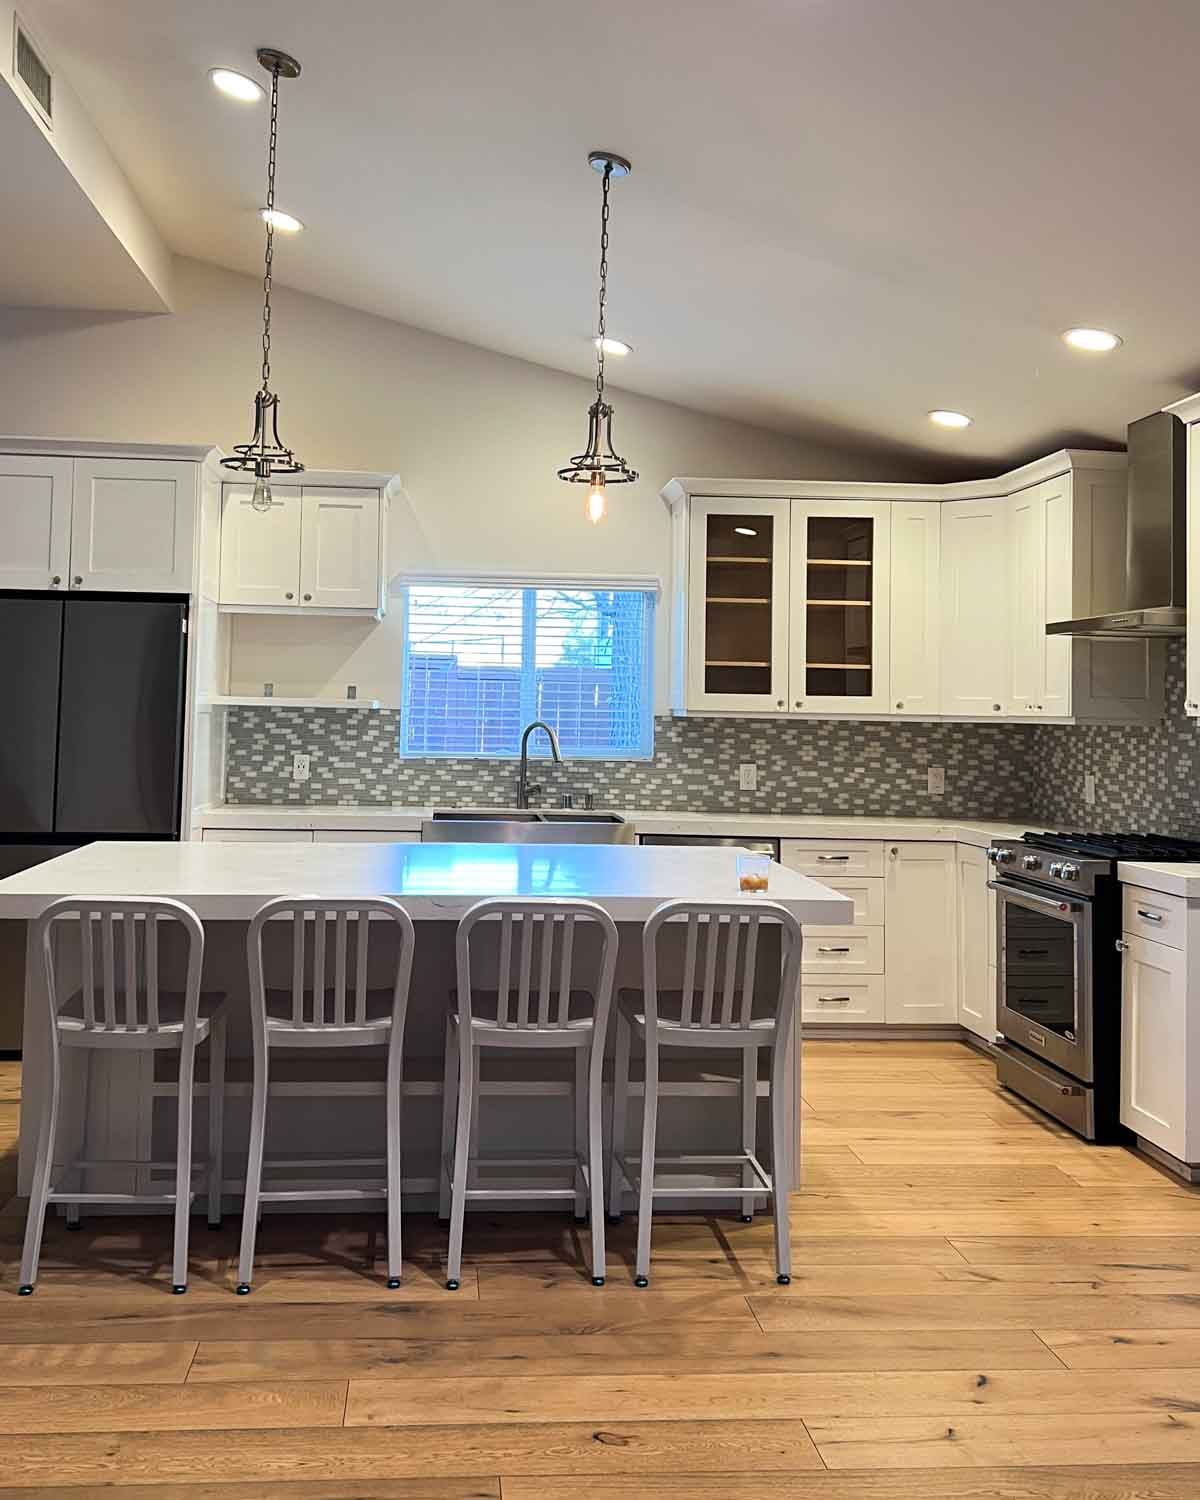
Below is a before image of the kitchen for reference!
Kitchen Renovation FAQs
Slab or tile backsplash really depends on your preference. In this kitchen, we went for all marble.
Use pendant lights that are in a warmer tone.
Cabinetry is most likely to be the most expensive part of your kitchen renovation. You can opt for some semi-made or already-made cabinets to cut costs, but even then, it will most likely be a big chunk of your budget.
Thank you for reading! If you have any questions, let me know in the comments!